...
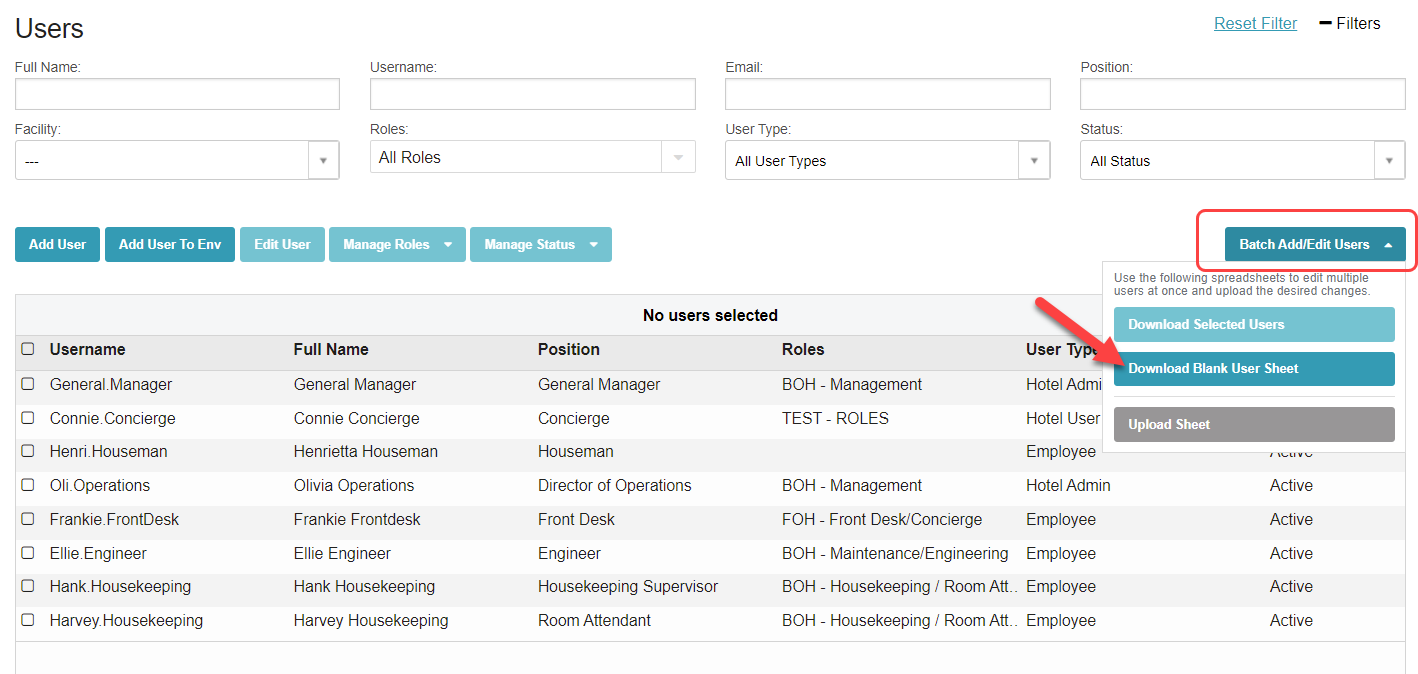
Select “Batch Add/Edit Users”, then select “Download Blank User Sheet”
Open the template. Required columns are noted with an asterisk (*) on the template. Review the column instructions defined below.
ALICE UserID (Do not modify) - This column should be left blank when adding new users from a blank user template. When selected users are downloaded onto the template, the column will auto-populate with unique ALICE User ID numbers. To avoid errors during upload, do not edit this column.Username (Required) - Create a unique username for new users. Usernames must be unique to the ALICE platform, not just your account. An error message will appear if the usernames you are trying to use are already taken. If you are unsure about whether a username is available, you can test the username in ALICE by selecting “Add User” and entering it into the “Username” field.
Password (Required) - Enter a temporary password for your users here. They will use this password when they log in for the first time. Once they log in, they will be prompted to reset their password for themselves. If using SSO, this column is still a required column. Enter any text as a placeholder.
Full Name (Required) - Add the user’s first and last name. This will be the user’s display name in ALICE.
Position (Required) - Add the user’s job title. We recommend adding the complete job title and avoiding abbreviations or shorthand.
Work Email (Optional) - Add the user’s company email address. Although this is not a required column, we encourage you to add emails so that users can reset their password, receive email notifications, or have direct email addresses listed on custom confirmation letters and itineraries.
Work Phone (Optional) - Add the user’s work telephone number to have it appear on customized templates for confirmation letters and itineraries.
Extension (Optional) - Add the user’s work extension, if applicable.
Home View on Mobile (Required) - “ALL Tickets” by default. Select “MY Tickets” or “ALL Tickets” from the dropdown. This column controls the default ticket list view for this user on the ALICE Staff app.
If “MY Tickets” is selected, the ticket list will be filtered to “Mine” by default.
If “ALL Tickets” is selected, the ticket list will be filtered to “All” by default.
Alert for Unassigned Tickets? (Required) - “Yes” by default. Select “YES” or “NO” from the dropdown. When “YES” is selected, ALICE Staff App (Mobile) users will receive a push notification to their device to alert them of a new, unassigned ticket within their department.
User Level (Required) - “Employee” by default. Select an option from the dropdown.
OpenTable User (Optional)- “NO” by default. Select “YES” or “NO” from the dropdown. If your users have an OpenTable Concierge account, select “YES”. Contact ALICE Support (support@aliceplatformsupport@actabl.com) to enable the full integration.
OpenTable Username (Optional) - If the user has an OpenTable Concierge account and “YES” was selected in the previous column, add the user’s OpenTable username here.
SSO ID (Optional) - If using a Single Sign-On Integration, enter the SSO ID here.
Language (Optional) - “English” by default. If an alternative language is available in the account, select it from the dropdown.
Save the template sheet to the computer.
In ALICE Admin, navigate back to “Manage Users” and select “Batch Add/Edit Users”.
Select “Upload Sheet”.
Select the saved template and upload it by selecting “Open”.
When the upload is successful, the users will appear on the list view.
...